5 Yoga Poses To Release Hip Pain
The Junk Drawer of the Body
The tighter your hips are, the tighter your lower back, and the rest of your body will be. Our hips can carry all of our built up weight, both physically and emotionally. Because of this, our hips often act as the ‘junk drawer of our bodies’, making it important to release them. One of the best ways to do this is by practicing yoga.
Whether you are just starting out or an avid yogi, you’ll want to include these poses into your daily routine to relieve hip pain and improve your range of motion.
Hold each pose for three to five minutes, and don’t forget to breathe!
1. Child’s Pose
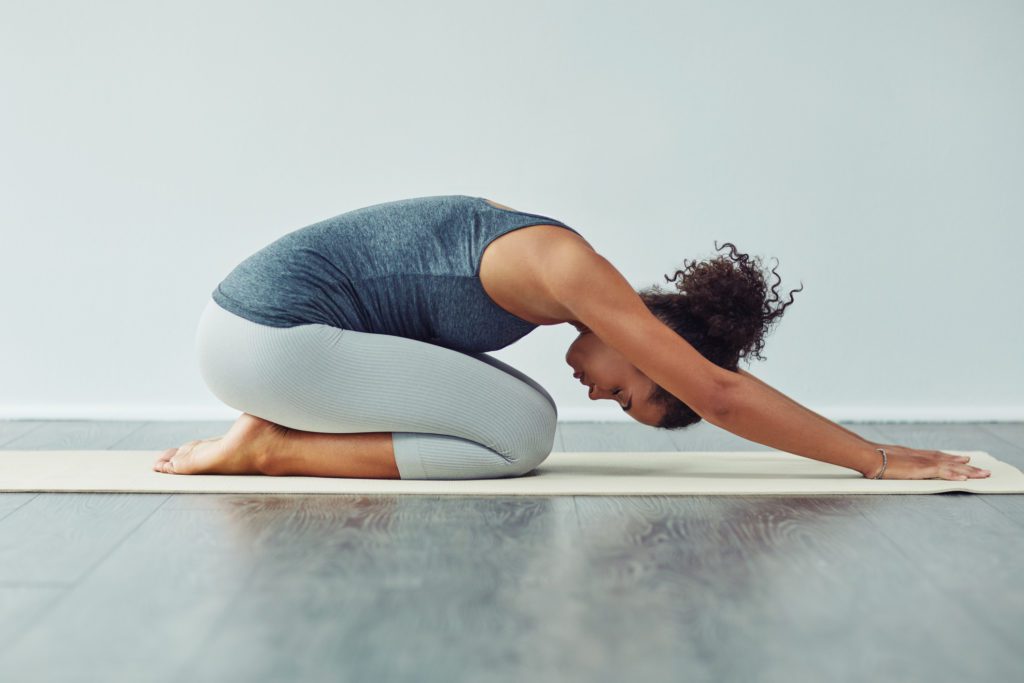
Start by kneeling on your mat and touch your big toes together, separating your knees. Lay your torso in between your thighs, and stretch your arms out in front of you keeping them as straight as possible. Your goal is to get your thighs as close to your heels as possible, stretching into your hips and lengthening your body.
2. Shin to Shin
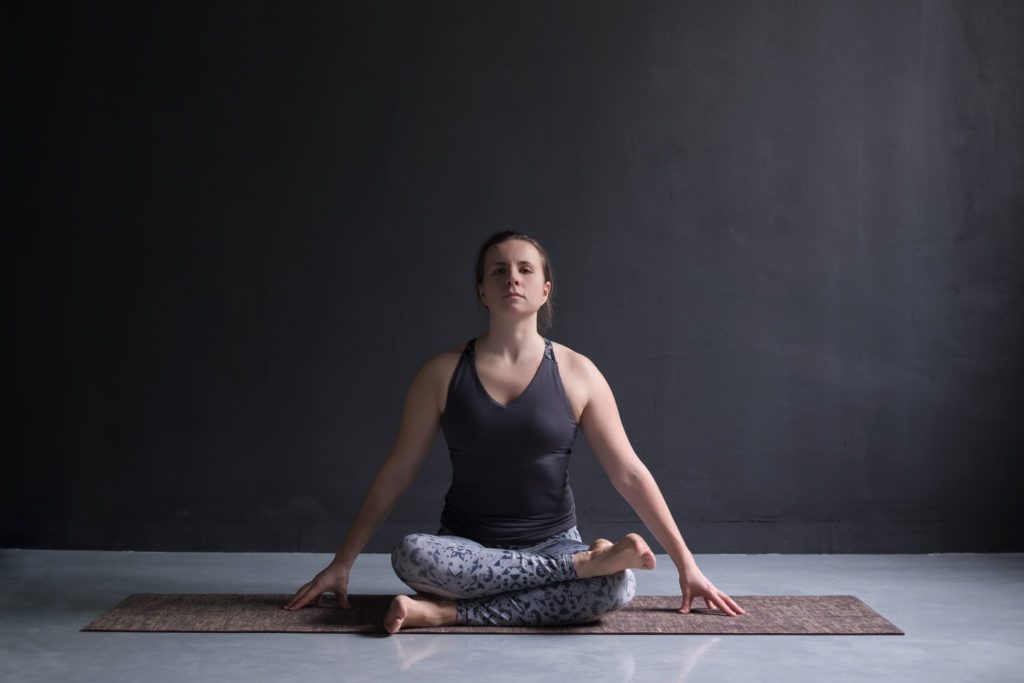
Sit with a straight spine, and align your right knee on top of the left ankle and the left knee on top of the right ankle. Repeat on the other side. If your top knee is lifted far from the bottom ankle, you can place a block or blanket under the knee for support.
3. Bound Angle (Butterfly) Pose
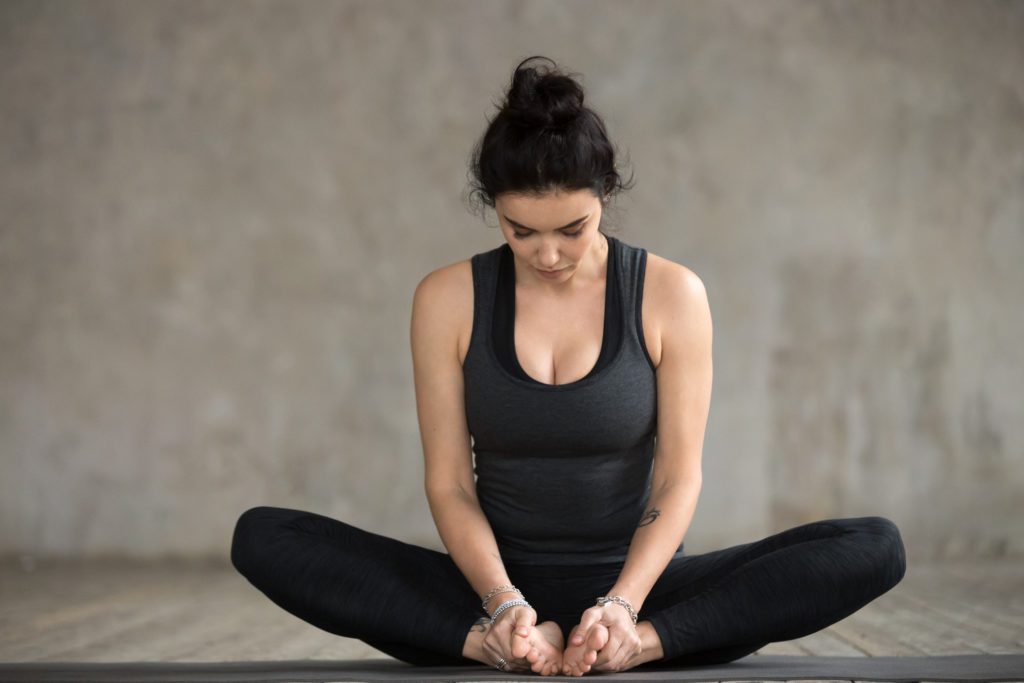
Start with your legs straight in front of you, bend your knees and pull your heels together towards your pelvis. Drop your knees to the sides and press the soles of your feet together.
4. Lizard Pose
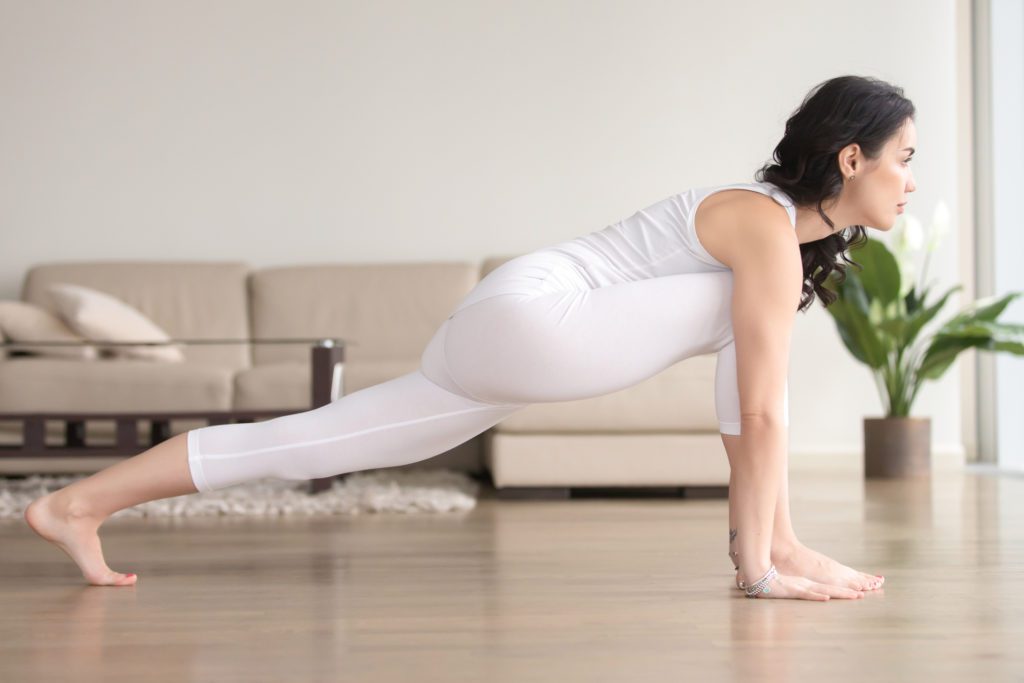
Start from lunge position with your right foot in front, and slowly inch your foot out to the side. Cartwheel your hands down in between your knees. If your back knee is on the floor, lift it up if possible. For a more relaxed pose, leave your back knee on the floor. If accessible, lower down to blocks in front of you or down to the floor. Repeat on the left side.
5. Pigeon Pose
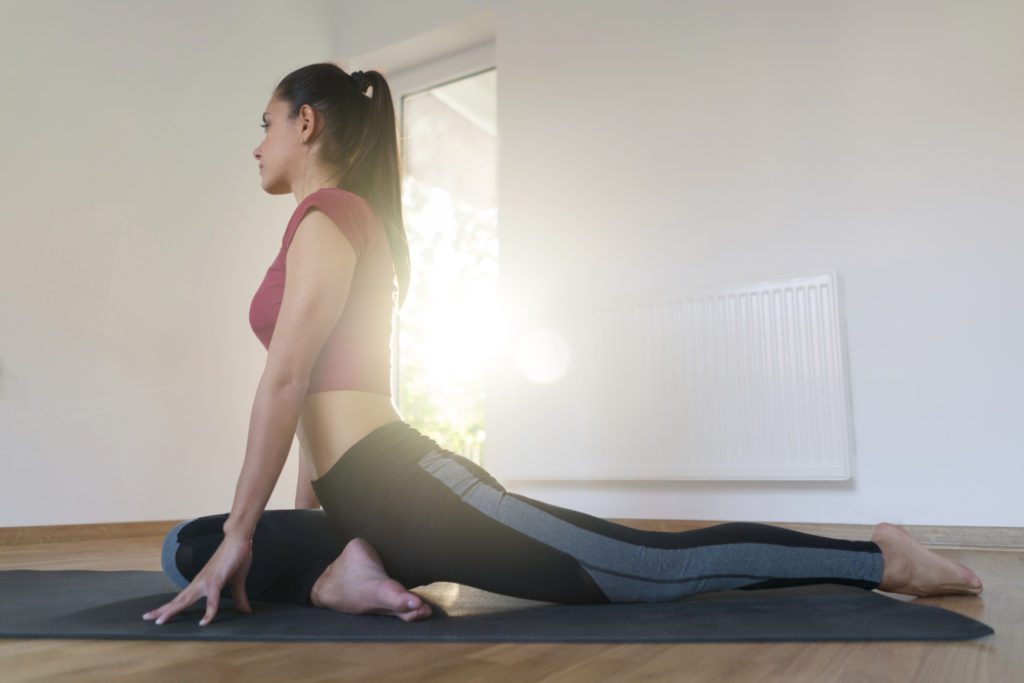
The king of hip openers! Start on all fours, and align your right knee with your right wrist. As you move your knee towards your wrist, your right ankle will align in front of your left hip, making as close to a 90-degree angle as possible. Slide your left leg straight back from your hip, with your heel towards the ceiling.
If you feel your right hip coming off the ground, place a blanket or block under it for support. Inhale, lengthen your spine, and crawl your hands forward. To come out, roll to your side, swing your legs forward, and repeat on the opposite side.
Before starting any new workout routine, be sure to discuss with your doctor first.
By completing these poses together or incorporating them into your daily routine, you will give your hips the stretch they need. At Orthopaedic Specialty Group, our physicians perform a range of joint reconstruction, replacement, and revision procedures for hips and knees. Contact us today to schedule your appointment (203) 337-2600!